Setting your Event Schedule

In the main event form you can set the main schedule - the start and end times for the event as a whole.
Note: Until you have set and saved the main schedule, the event will not appear on your dashboard.
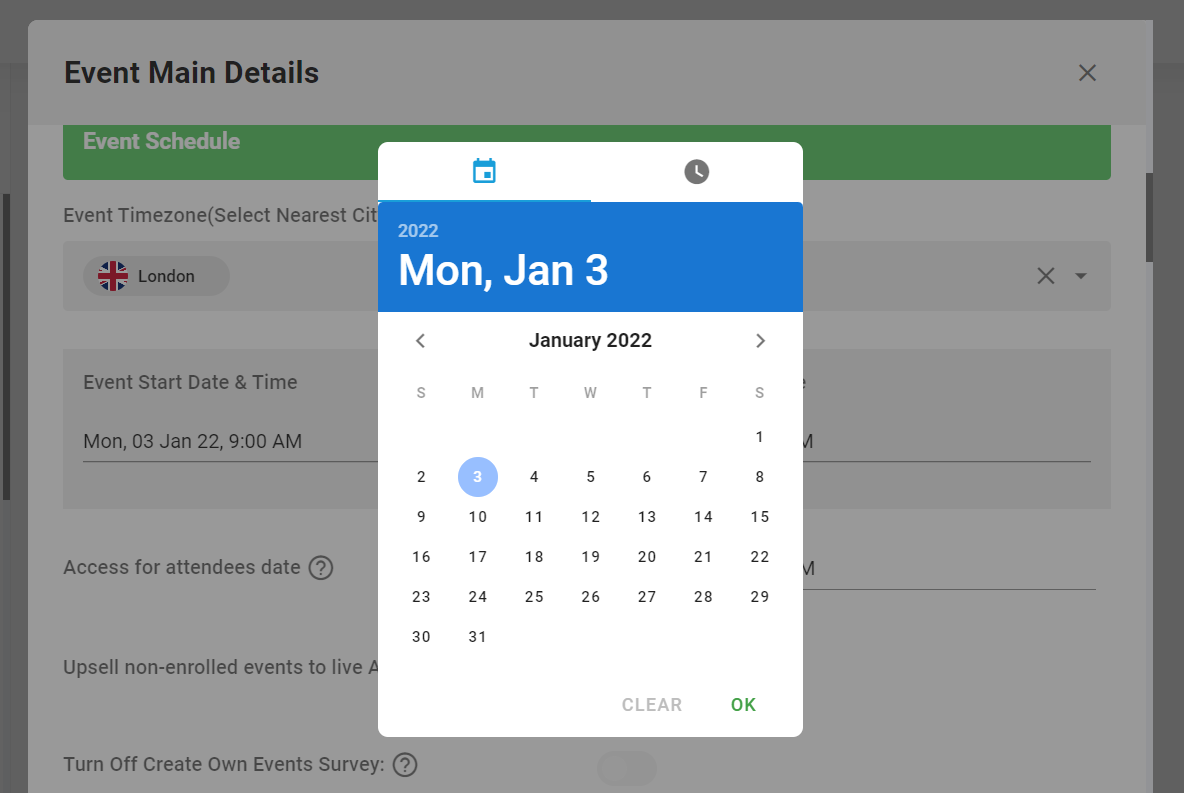
Scroll down to "Event schedule" in the main event form, and click into the "Event Start Date/Time" - utilise the calendar widget to choose the date followed by the time.

Attendee Access: Because you may want your attendees to access your event at the start time, or maybe half an hour before, or perhaps a week before, there is a separate section for attendee access time. This allows you to set entry time earlier than the actual event start date. Up until this access time, normal attendees will be restricted from entering the event and will be displayed a countdown timer to the event start.
Special Attendee Access: Special attendees, such as team members, expo team members, presenters & moderators, door entry scanners, and you (the event owner) can access the event as soon as it is on their dashboard.
💡Tip - Ensure you choose AM or PM when setting the time - the times on the selector are displayed in standard 12-hour, not 24-hour mode.
💡Tip - Once the event dates are set, you will not be able to choose dates outside of this range for any schedules for Sessions, Expo, Networking etc. If you need to set these schedules outside the main schedule, you will need to amend the main schedule time to do so.
💡Tip - You can amend the overall event dates and times at any point before the event has started
Related Articles:
Setting the Attendee Access Time & Date