One of the core strengths of hosting a monetised virtual event with ReAttendance, is that you are able to continue selling tickets to your event, long after its original dates have passed...
One of the core strengths of hosting a monetised virtual event with ReAttendance, is that you are able to continue selling tickets to your event, long after its original dates have passed.
Gone are the days when you would build up to the big day and only earn revenue on the ticket sales for that single event. It’s a huge risk and one that you don’t need to be stressed by anymore with the rise of the virtual event.
Now you can continue earning revenue and selling tickets for events into the coming months and years.
And this is how you can achieve that and monetise your events with ReAttendance…
Video: How To Monetise Your Events With ReAttendance
Tutorial: How To Monetise Your Events With ReAttendance
Just in case you prefer reading your tutorials, here’s a written tutorial for all the steps listed in the video above.
Monetising an event is simple and can be done in just a few steps.
The 3 Ways That You Can Monetise Your Event With ReAttendance
To start with, it’s important to know that you don’t have to monetise every part of your event.
ReAttendance allows you to break your event up into 3 distinct parts of an event and monetise them seperately.
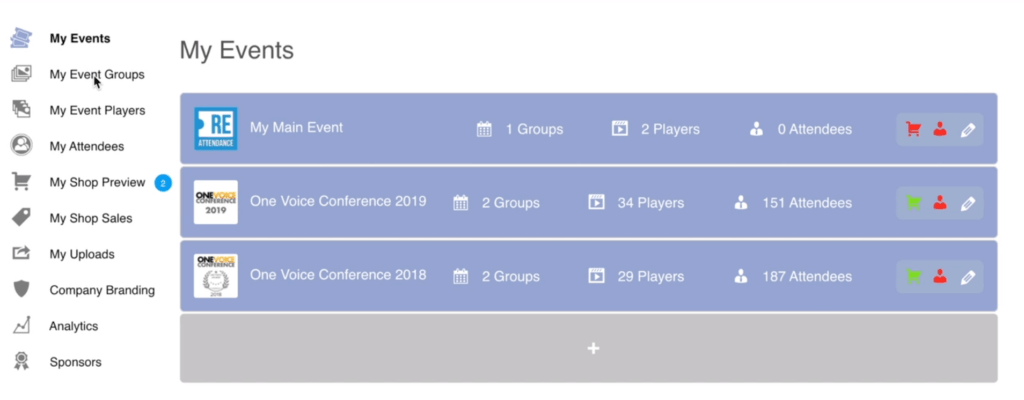
My Events – This is your event as a whole and will contain anything that happens at your event.
My Event Groups – These are the groups that you use to categorise parts of your event (e.g. splitting up your event into different days)
My Session Players (previously called “Event Players”) –
These are the individual talks and presentations that take place in each event group.
For instance, if you were hosting a virtual pancake conference, you would have:
- Your Event – The Big Pancake Weekend 2020
- Your Event Group – The Saturday of the Big Pancake Weekend 2020
- Your Session Player – A talk on “How To Flip Pancakes” that takes place on the Saturday of The Big Pancake Weekend 2020
And ReAttendance allows you to monetise any part of this, so you can monetise the entire Big Pancake Weekend 2020, or you could just monetise the “How To Flip Pancakes” talk and leave the rest free.
It’s really simple to completely control and monetise any part of your event using the same process for everything.
How To Monetise Your Whole Event In 6 Steps
Now that we’ve explained the different ways that you can monetise an event, let’s take a look at an example of how to actually do it.
In this example, we’re going to be monetising an entire “Event”, so we’ll be selling a single ticket that your attendees can purchase to view everything at your event, with no free entry to any part of it.
You can use this walkthrough to monetise any part of your event as the process is exactly the same to keep it simple.
But for now, let’s just look at how you can monetise an entire event, using ReAttendance.
Step 1 – Setting Up Your Event
You can’t monetise an event if you don’t have an event, so let’s start by setting our event up.
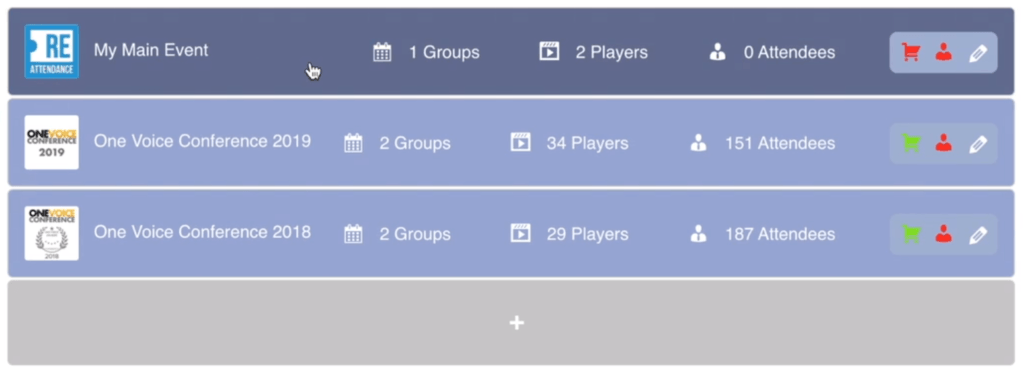
In your dashboard, head to “My Events”, where all of your events will be saved.
Below we have a selection of events we’ve made earlier, but in order to create a new event, you will need to click on the “+” symbol, which will always be found at the bottom of the list.
Step 2 – Adding Your Event’s Details
Once you’ve opened a new event, you’ll immediately be able to add all the basic details about it such as the name of your event and a description about it.
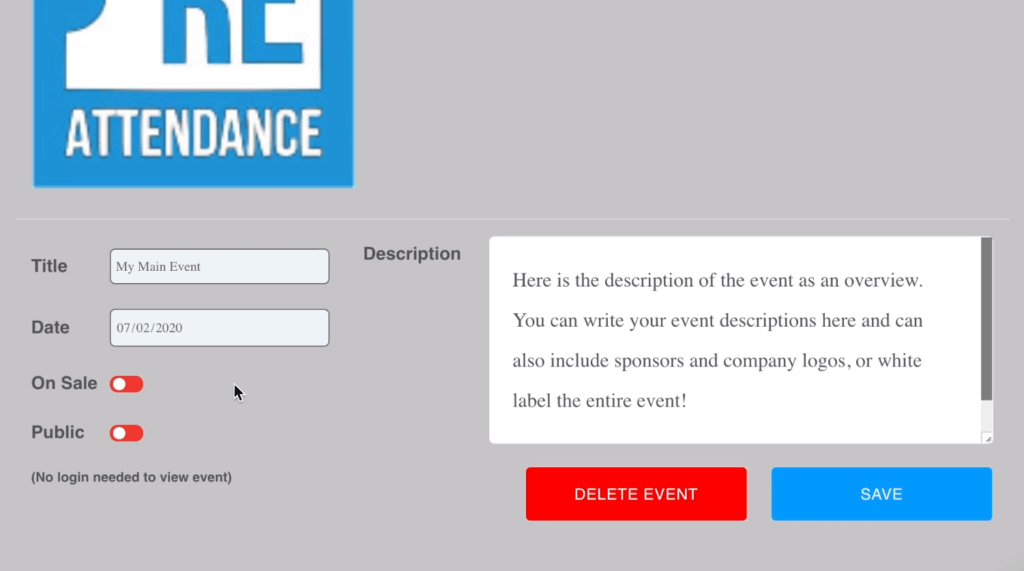
Among these options will be “On Sale” which is key to monetising your event.
Step 3 – Setting The Price For Your Event
All you have to do is toggle the “On Sale” option by clicking on it and it will turn green to show it is active.
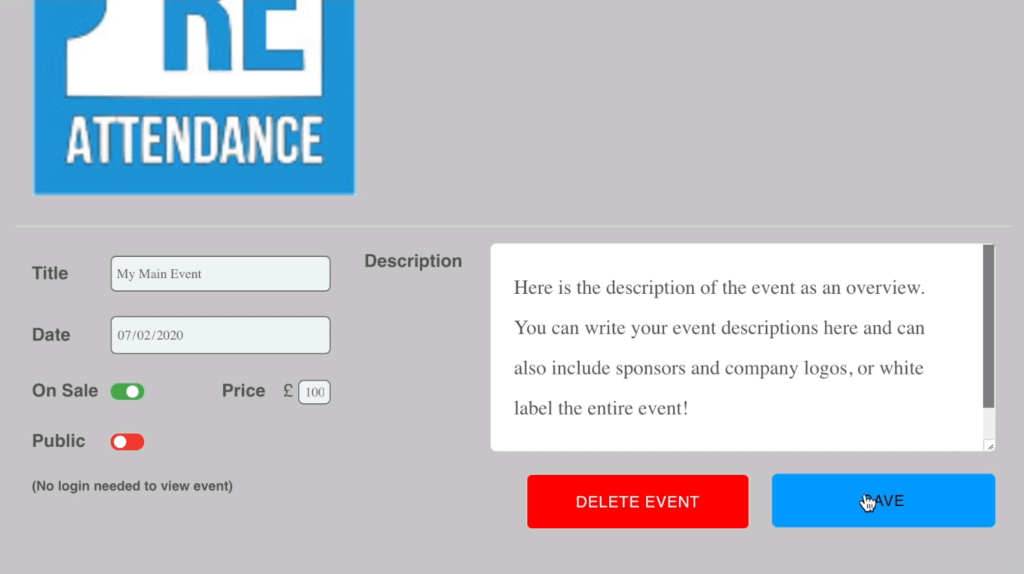
A box will appear next to it, and in there, you just need to write the ticket price for your event.
Once you’re done with that, you just need to click “Save” and you’ll be returned to your list of events, which should now include the new one we just entered.
Step 4 – Preview Your Tickets Before They Go Live
You have entered the price of your event ticket and set it to be on sale, however, you still need to publish your virtual tickets to the ReAttendance Marketplace.
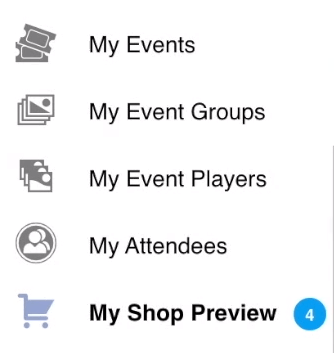
You’ll now see in the sidebar on the left hand side of your screen that your “My Shop Preview” option will have a blue icon by it containing a number.
The number refers to the number of tickets you have to publish.
Click into your shop preview and you’ll be presented with a list of all the tickets you have waiting to be published. At this point there should only be 1 ticket awaiting publication – the one we’ve just made.
Step 5 – Finalise Your Event Details Before They Go On Sale
When you edit your event in the shop preview, you’ll find that ReAttendance has pulled in all the important information that you already entered when you first set up the event.
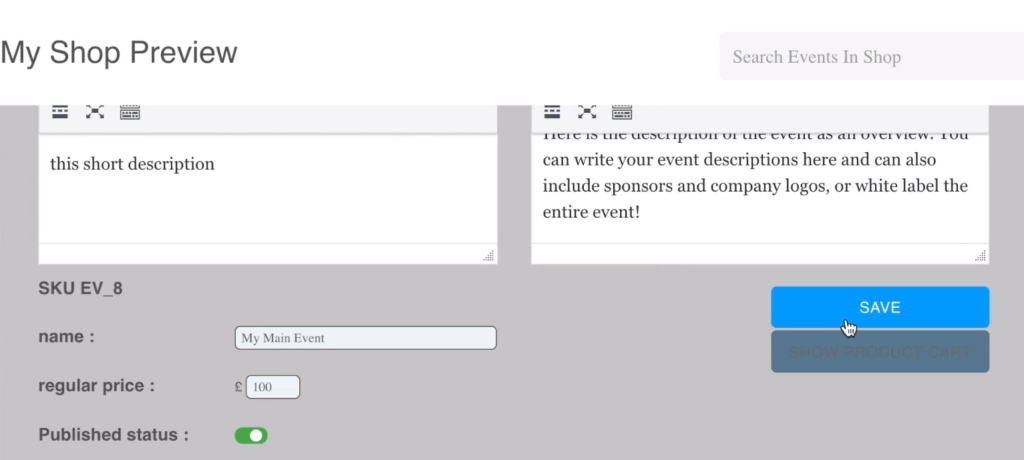
If you want to change any details of your event, you absolutely can and your original event details will not be affected.
Any new details you change will simply change the details that show up when your attendees go to purchase their ticket through the online Marketplace.
However, in most cases, you won’t need to change any of the details for your event as they should already be correct.
Simply check all the details, set your “Published Status” to green and once you’re happy with everything, then click “Save”.
Step 6 – Check Your Event In The Marketplace
And finally, all you have to do now is check that everything is published in the Marketplace.
Doing that is simple.
Firstly, head to the bar at the top of the site and hover over “Event Marketplace”, this is where we host all the events that are created through ReAttendance.
Then you’ll need to click the “Paid Full Events” option.
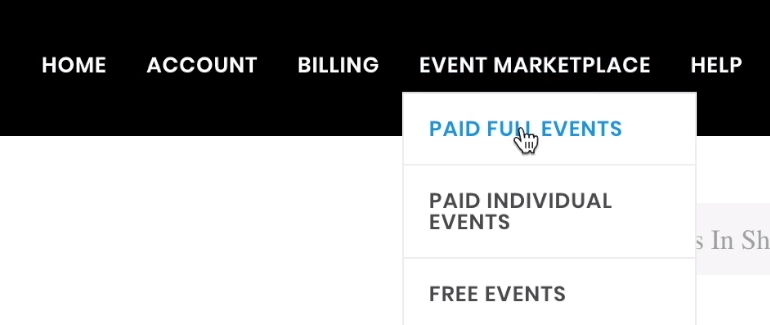
As a side note, if you have just monetised single days of your event (Event Groups) or talks (Session Players), then you would follow the same publishing process, but find those in the “Paid Individual Events” section.
You’ll then be presented with a list of all the available “Paid Events” and if everything has worked, your event will be among them. In this case, it’s the “My Main Event” that we made.
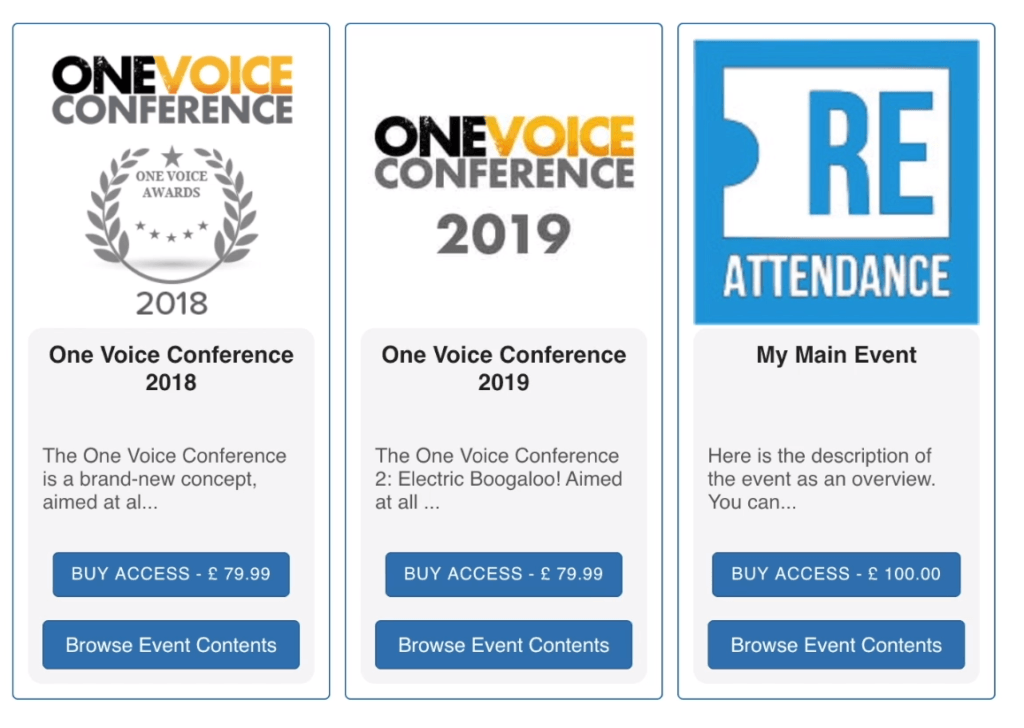
Your attendees can now buy access right away for the ticket price listed, or they can browse the contents of your event to see all the different talks that you have going on within you event.
They can even purchase access to your event’s talks individually this way, if you also decide to monetise your individual talks.
You can learn more about setting up events and talks here, but for now, congratulations!
You have monetised your first virtual event!

