Reattendance general user guide for attendees

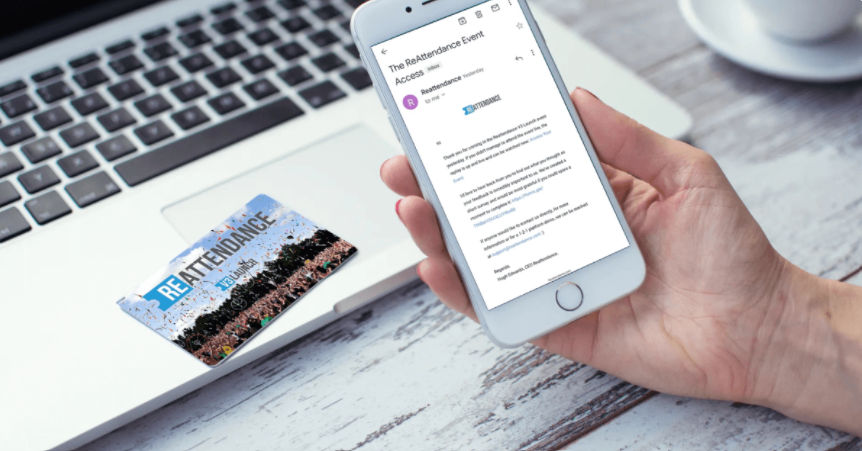
Logging into Reattendance for the first time? Read this for tips on how to join your event and navigate your way around the platform.
Accessing Reattendance
💡TIP - When using Reattendance, we recommend using Google Chrome or Firefox.
- You will receive an email from noreply@reattendance.com which will contain a unique access link. Click this link to choose and set a password
- If you have purchased a ticket to the event via Reattendance, then you can log back in here: https://reattendance.com/login
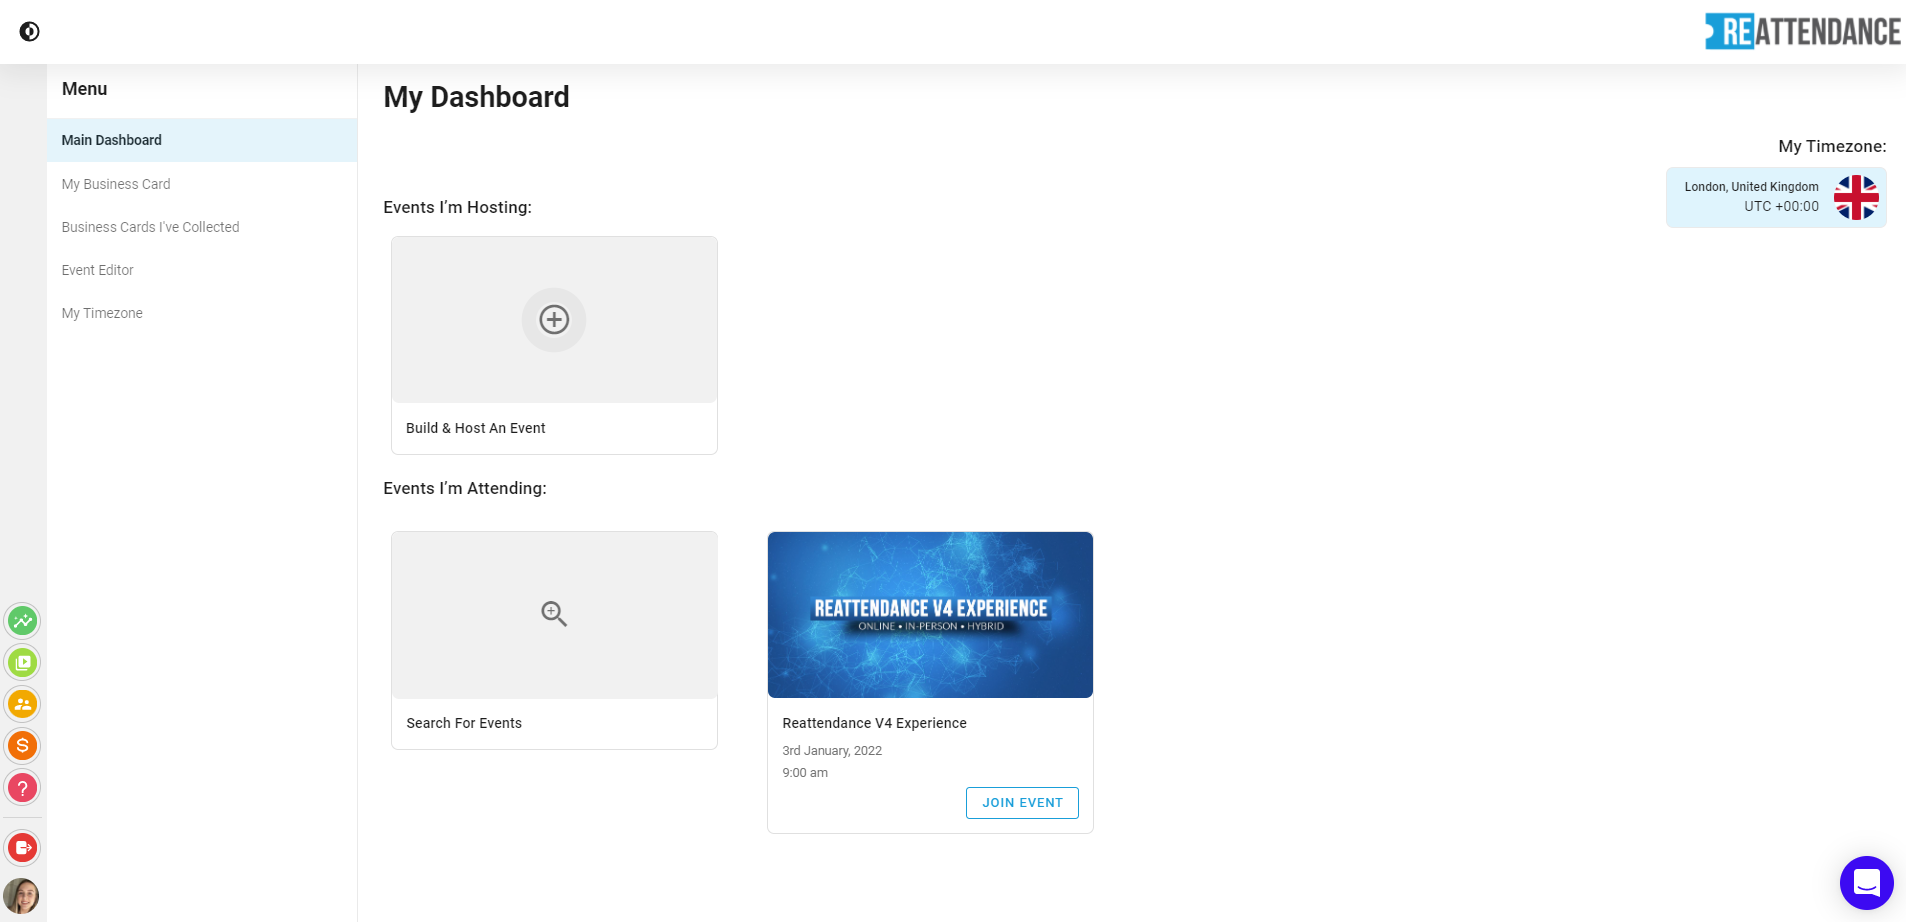
- Once you have set your time zone, you will be inside your dashboard. From here you can join the event from the time specified
- You can complete your business card from the 'my business card section on the left hand side'. You can also collect business cards here
Joining the event
- On the day of the event, you can join from your dashboard
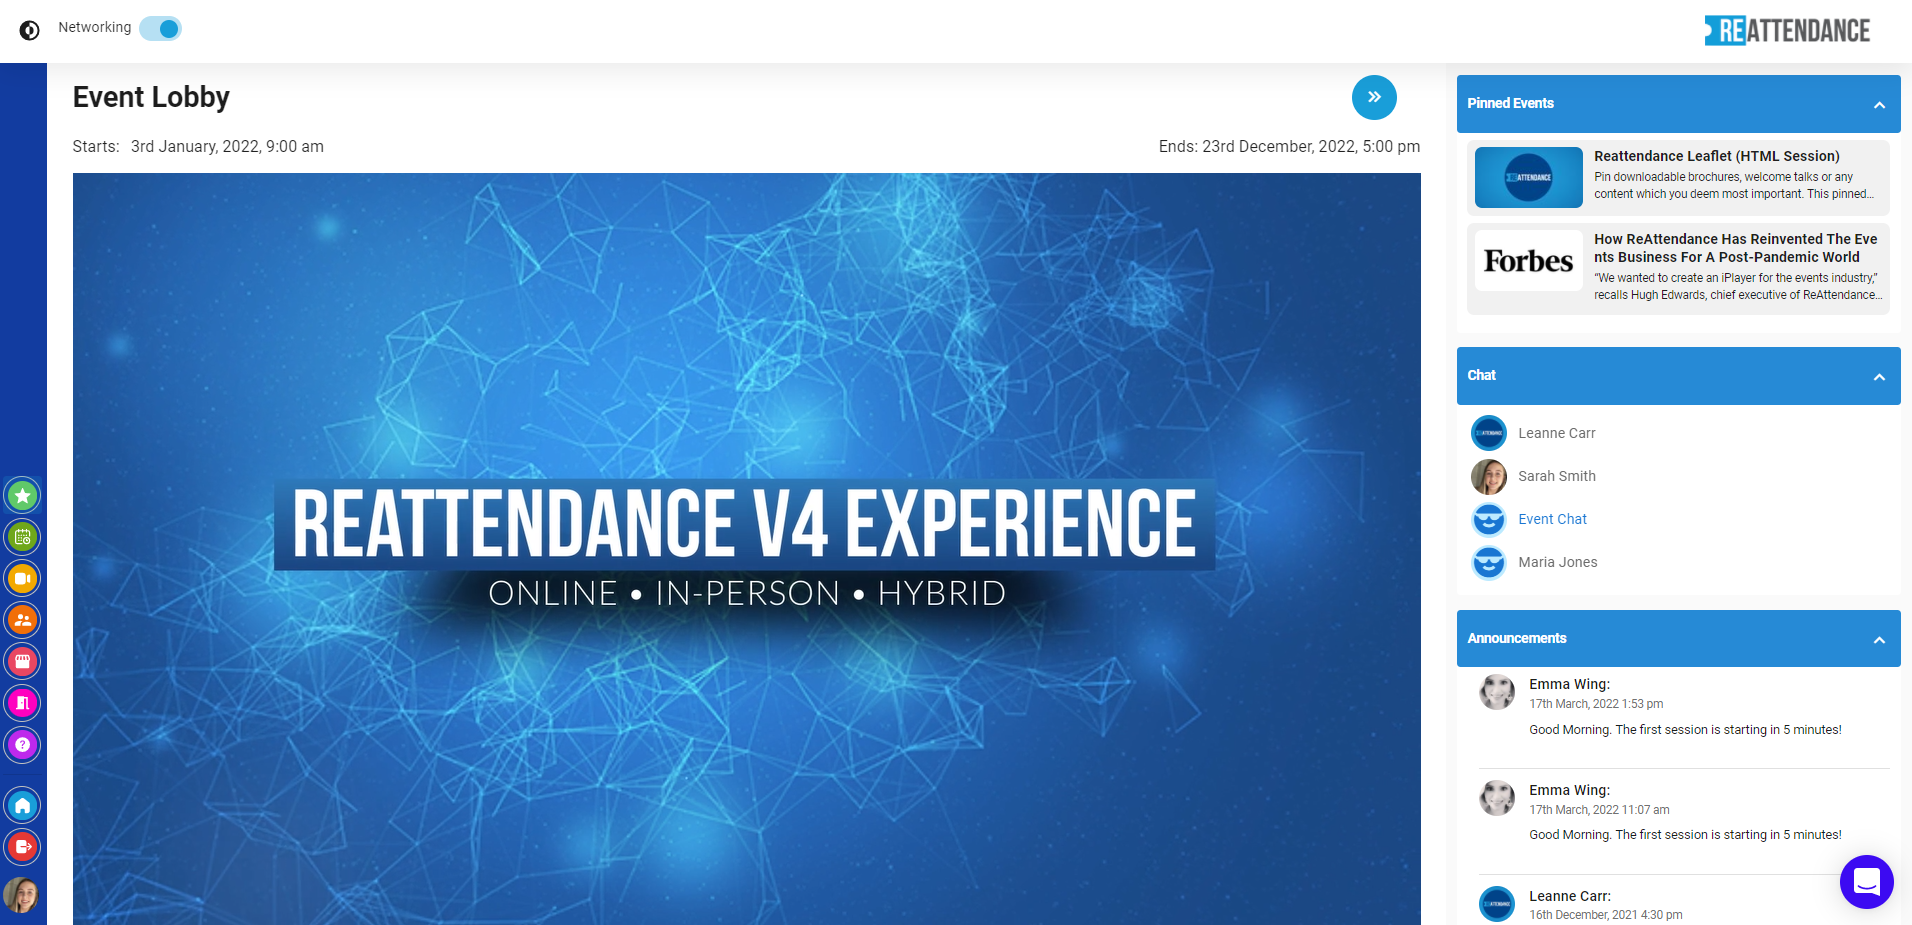
- Follow the steps until you reach the event lobby
- On the right hand side there may be pinned key events, your chats, announcements and sponsor details
- On the left hand side is your navigation bar. Here you will find the schedule and any other areas that the event owner has added (such as networking, expo area)
- Your networking switch will appear in the top left hand corner. You will need this turned on to engage in any video networking
The Schedule
- The schedule may be organised into different sections which you can access from the filters along the top
- You will initially see all the available sessions, but you can click on each filter to toggle groups on and off. You can even add sessions to ‘My Schedule’ so you can personalise your experience
- You can click on any session to expand the block and see the session description and presenters in more details. Choose the session you would like to join and click 'Join Event'

The session stage
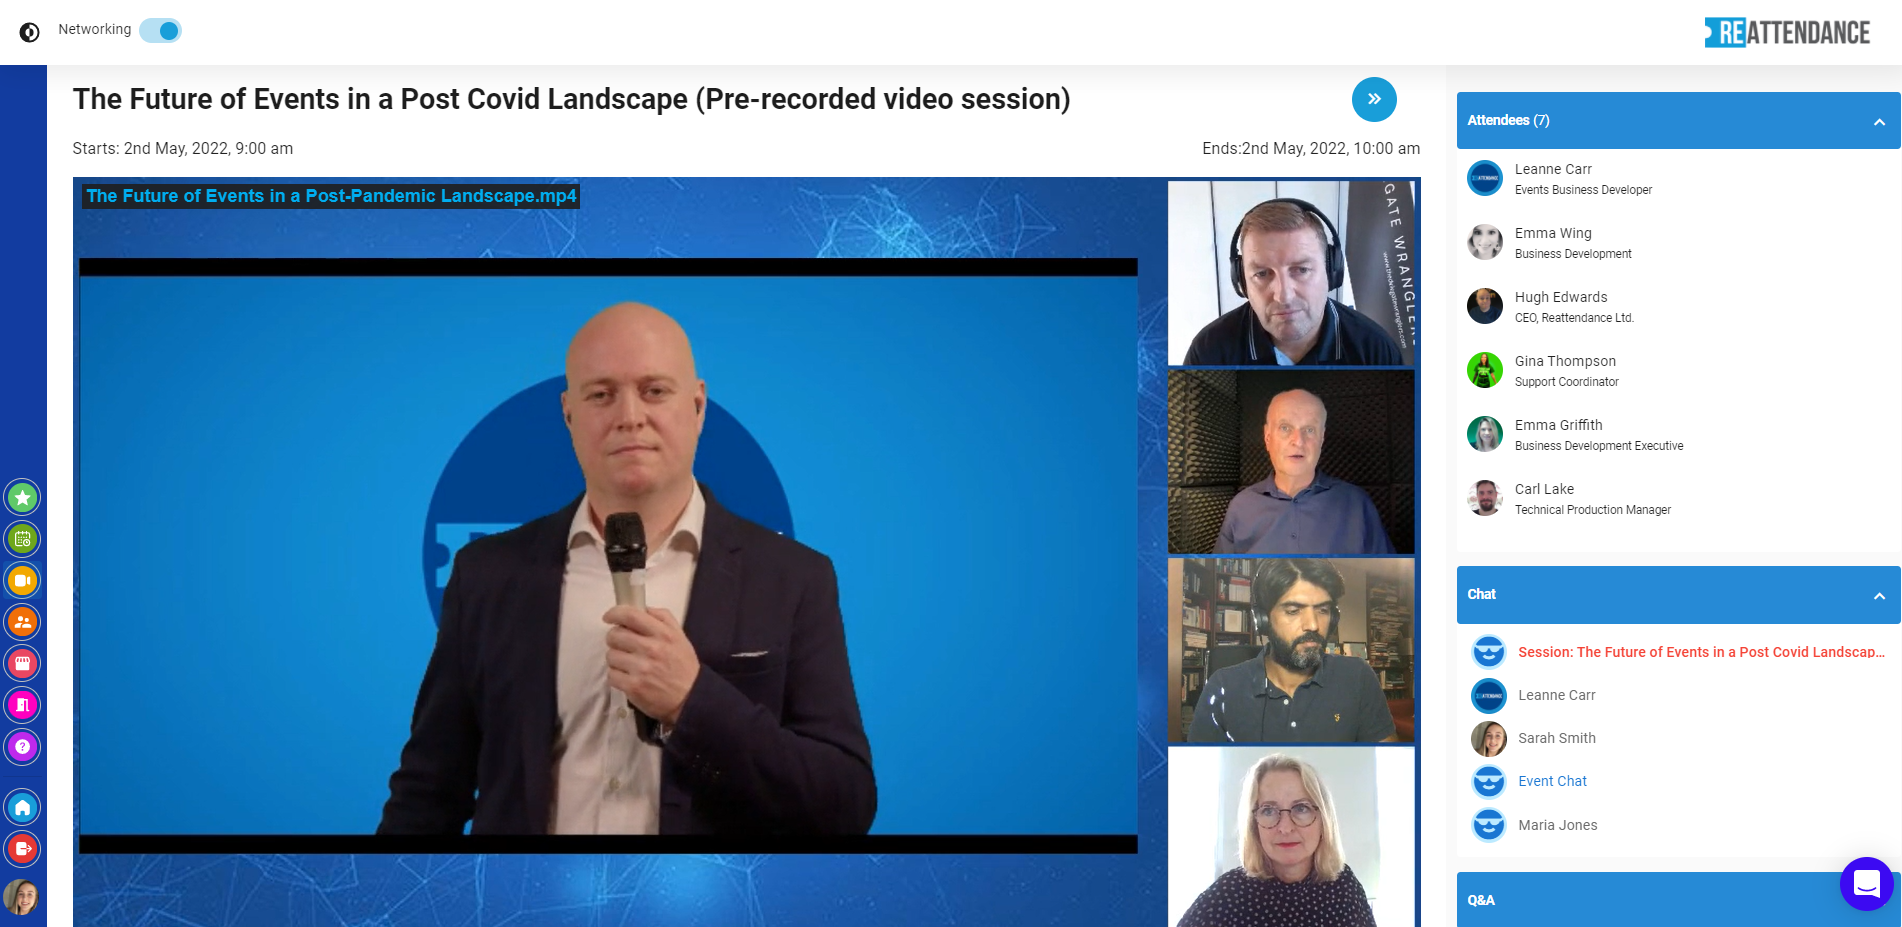
Once you have joined a session, you will be inside the session stage. To the right hand side you will see:
A live attendees list ➜ a real time list of all attendees with their networking switch turned on, who are watching the session with you. From here, you can click on someone's icon to view their business card, swap cards, start 1-1 written chats or 1-1 video calls.
Your chats ➜ this includes the main event chat, a dedicated session chat and any 1-1 chats that you have engaged in
Q&A ➜ a dedicated place for you to ask questions to the presenters
(You will only see these areas if the event owner has chosen to include them)
Exhibition floor
- You can access the exhibition floor from the schedule and also from your navigation bar at the times the organisers has specified them to be open
- Once inside the expo floor, simply click on the stand that you would like to visit
- You can browser the different areas with the stand by using the stand tabs
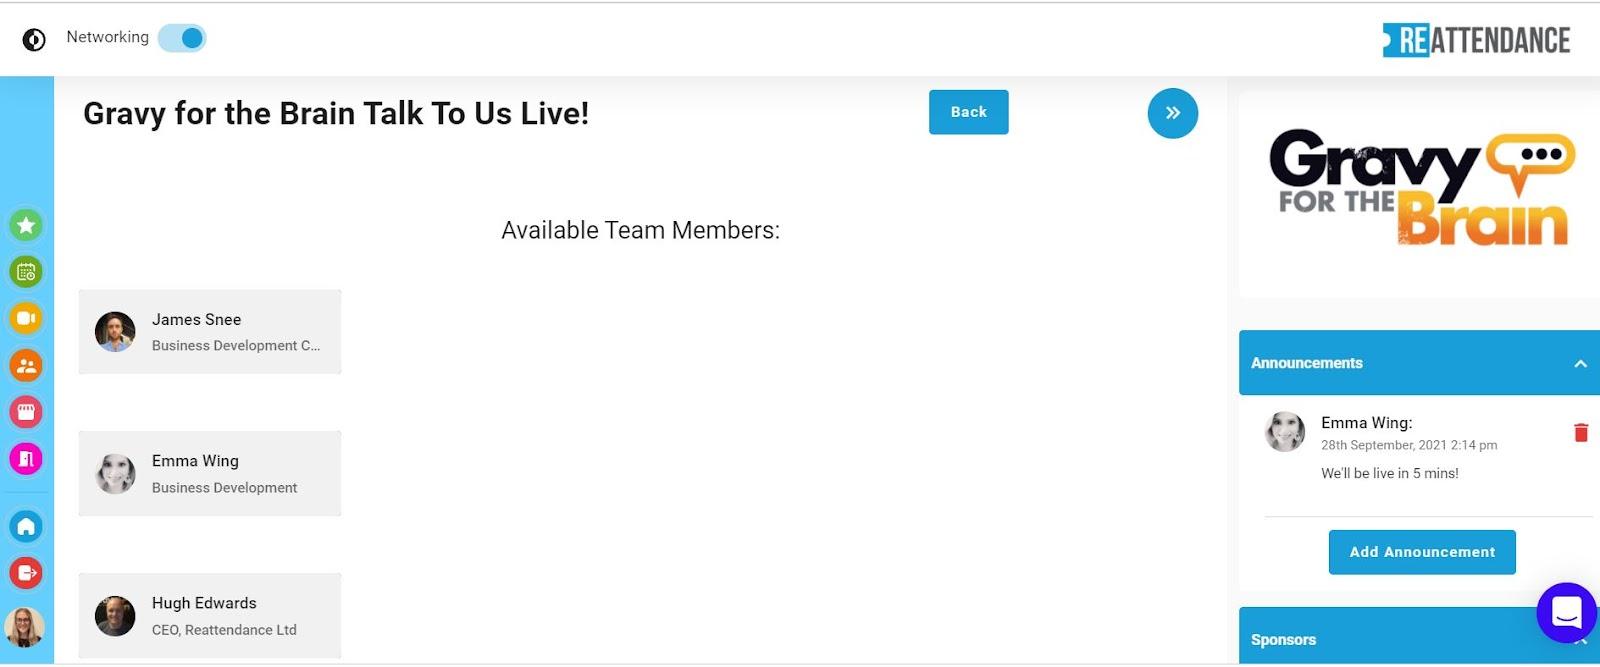
- You can request 1-1 video calls with available exhibitors in the Talk to Us Live area
- Hover over an exhibitors icon to view their business card, swap cards, start a 1-1 chat or request to start a 1-1 video call
- If you wish, you can send them an ice breaker message to go alongside your video call request
Networking Rooms
Finding the networking rooms
- If you are heading to the networking area for the first time, when you click on ‘Networking’ on your navigation bar, it will take you to the schedule. You will need to find the networking session you would like to join in the schedule (as there may be multiple)
- Select 'Join Event' on the networking session in your schedule
- Turn your networking switch on (top left hand corner)
Joining a networking room
- You'll see various rooms once inside the area. Simply click ‘Join Room’ and you will be put into a video call with other delegates. Don’t be shy, just join a room and start making connections!
- If you want to, you can create your own networking room. Perhaps you want to start a discussion with other delegates about what you are learning at the conference? You can click ‘Add Room’ and give it a name and description. Join your room and wait for other delegates to join you (if you can't see this option, then event owner has not enabled this feature)
- Networking rooms hold a maximum of 9 attendees, you will see when the rooms are full
- Inside the networking room call, you have the option to turn your camera and microphone on and off when required. You can also share your screen, change the way you view other delegates and check your settings

Peer to peer networking
Finding the networking area
- If you are heading to the networking area for the first time, when you click on ‘Networking’ on your navigation bar, it will take you to the schedule. You will need to find the networking session you would like to join in the schedule (as there may be multiple)
- Select 'Join Event' on the networking session in your schedule
- Turn your networking switch on (top left hand corner)
Starting calls with fellow attendees
- In the networking area you will see a list of all of the attendees with their networking switch on
- Simply hover over their icon to view their business card, swap business cards, start a 1-1 chat or start a video call
- if you swap cards, their details will go to the 'business cards I've collected' section in your dashboard
- If you request to start a video call, pop in an icebreaker message and give them a call. Their profile will ring and they will either accept or decline
- If a fellow attendee requests a call with you, your profile will ring and you can accept or decline the call. Once accepted, you are automatically be put in a 1-1 video call with that person
Bubbles explained
- Once you are connected with another attendee in a 1-1 call, a bubble is formed
- The person who initiated the call can make their 1-1 bubble private so no one else can join
- Or, keep the 1-1 bubble open so anyone can request to join your call or you can invite others in
- All open bubbles will be listed in the bubbles area

Troubleshooting
- To check the platform is working correctly for you, in any networking area you can click the 'connection issues' button
- This will test your device in 3 stages: camera and microphone test, messaging connection test and a networking connection test
💡TIP - if your camera and microphone will not connect, this is likely a browser issue. You can allow your camera and microphone by clicking the small padlock (Chrome) or video icon (Firefox) in the top left hand corner next to your URL