Sending Announcements

Announcements allow you to make immediate contact with your attendees. This is incredibly useful when putting on an event, be it In-Person, Online or Hybrid.
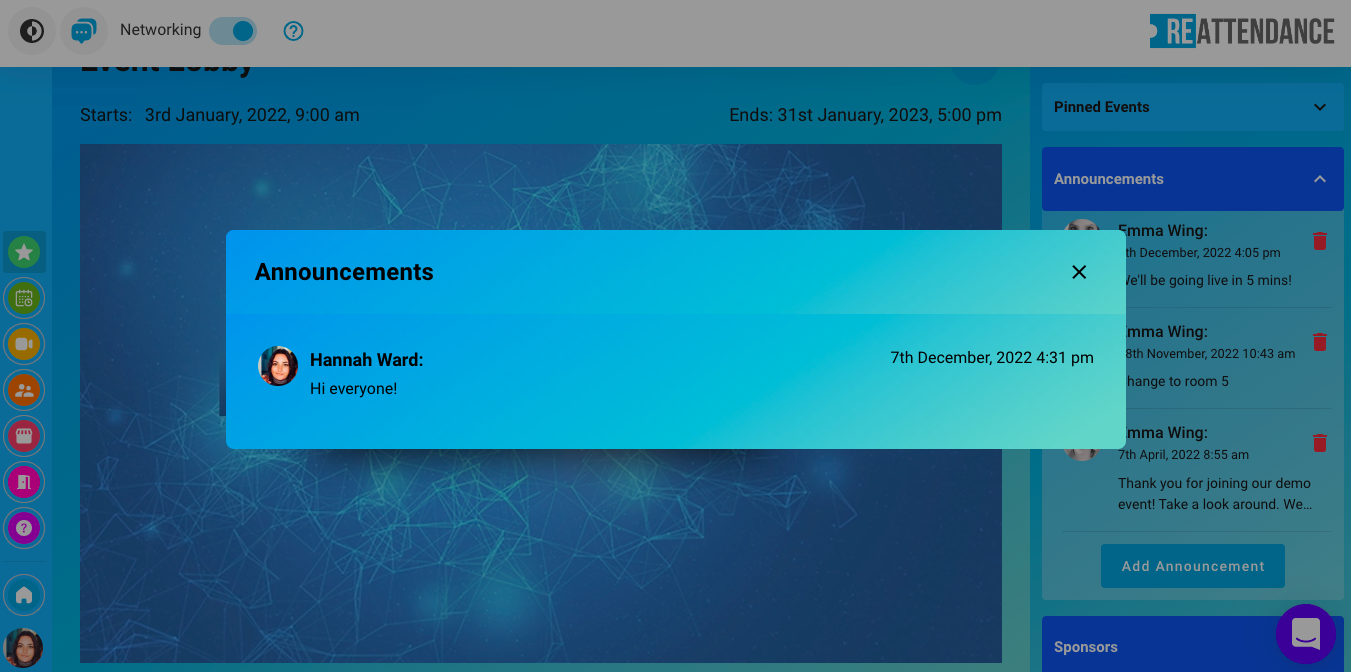
Once you are in the front end of your event, you will see 'Announcements' on the right hand side. This will be there wherever you are - in the lobby, in a networking room or in the expo area, looking at your schedule.. you will always have access to the announcements bar on the right hand side, as will your attendees.
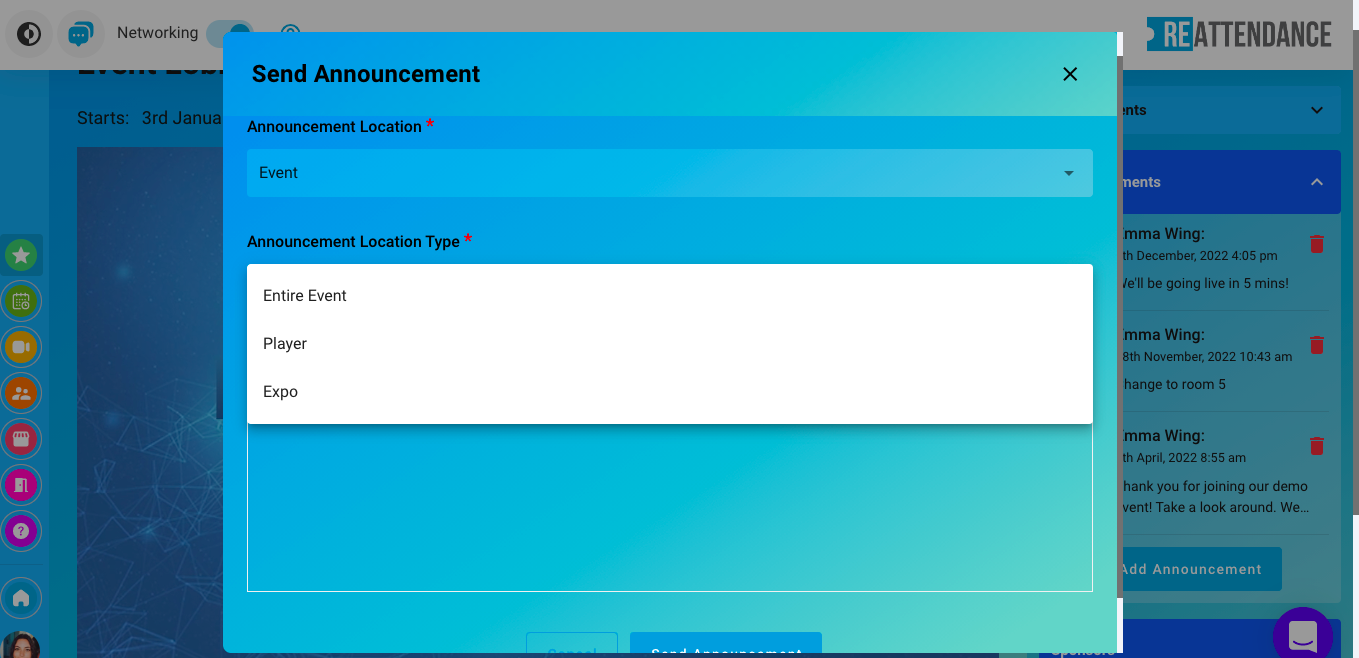
To get a message out to your attendees, click 'Add Announcement', and then chose 'Event' from the drop down bar under Announcement Location. Next, you can chose where your announcement goes, by clicking the drop down bar beneath Announcement Location Type. Here you can chose whether your announcement goes to the entire event, or a particular area within your event.

When you've finished writing your announcement, click 'Send Announcement', and it will appear on your screen as it will for the rest of the attendees.

💡TIP - Use Announcements to make the attendees aware of a delay or change in schedule, or to remind them of an upcoming part of your event - either way, the announcement will be out in seconds!
💡TIP - Announcements will stay on the right hand side of your event unless you delete them by pressing the red bin icon to the right of each announcement.
Related Articles:
Networking Switch